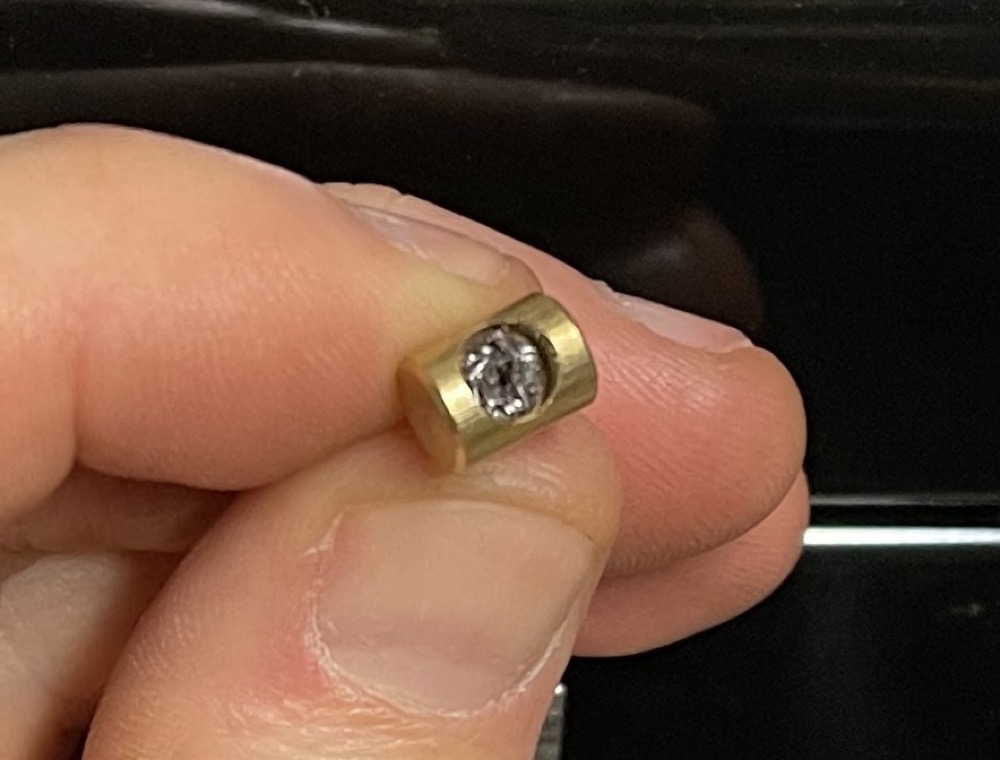
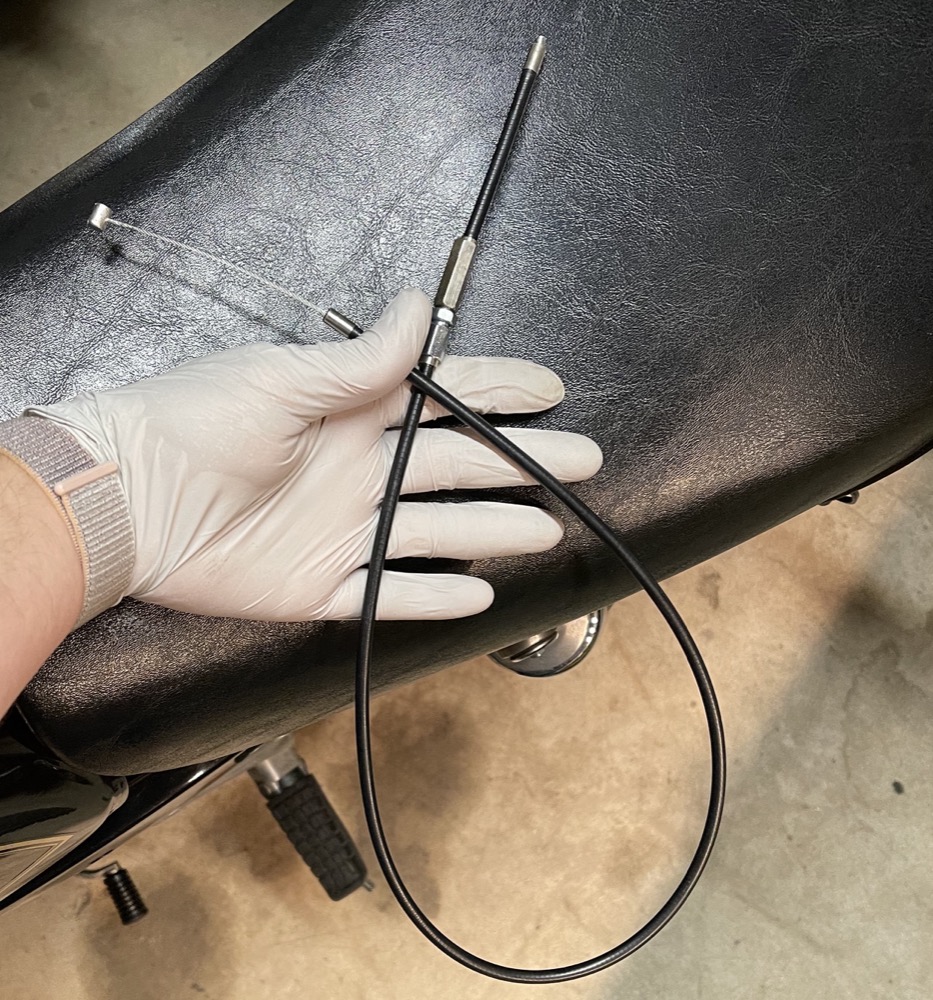
The old throttle cable was just a bit too short, and on the CM91 the only adjustment is at the carb top. It only provides about an 1/8 inch of difference. Little to no slack could be had in the cable and I suspect that this makes idle inconsistent. This bike is very sensitive to throttle slide position. I ordered a new throttle cable with the listed part number; however, it was nowhere near the correct dimensions. I discovered that Venhill sells DIY throttle cable kits on Amazon. It comes with assorted barrel lugs for the end, and the carb nipple already attached. I ordered Stabrite silver solder and flux, since it provides a high strength joint while still adhering at a temperature low enough to not affect the mechanical properties of the stainless-steel cable.
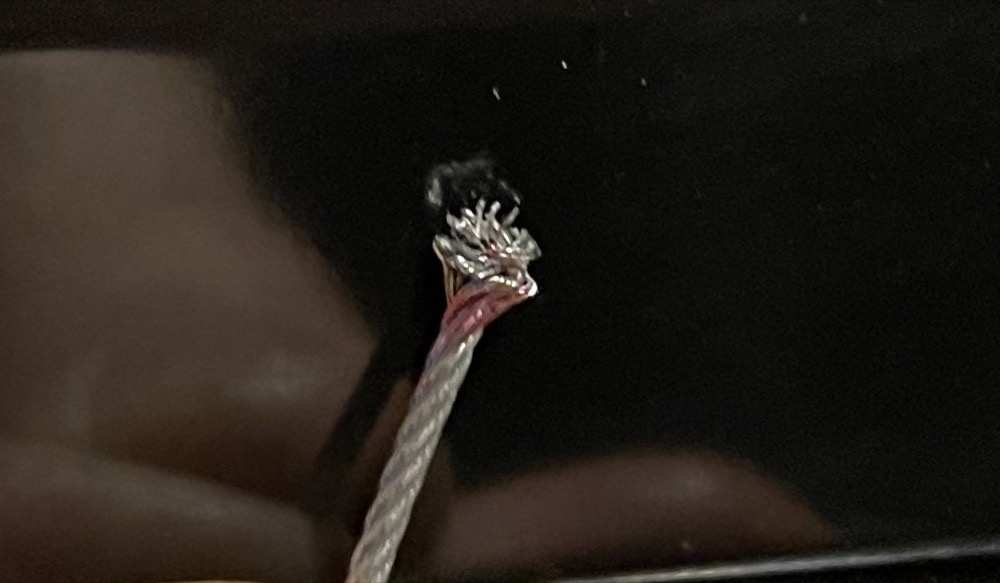
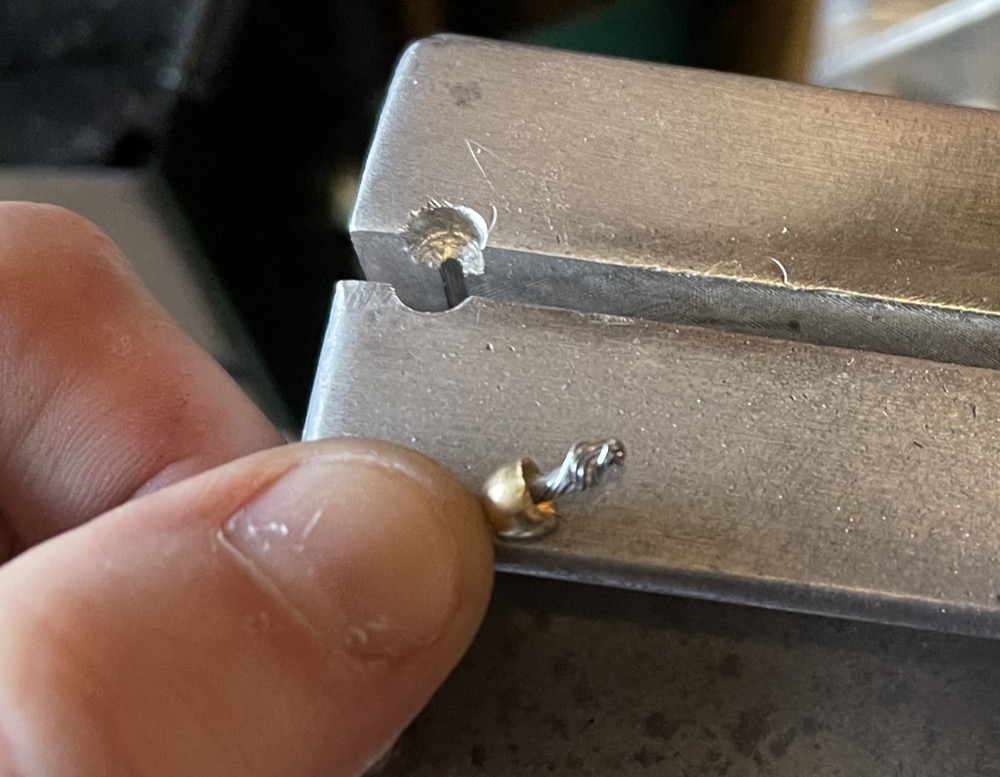
When attaching the nipple to the end of the cable, the most secure connection is made with the end of the cable pressed into a “bird-nest”. There are expensive forms available for this, but I figured I could make my own. My aluminum bench vise is soft and easy to drill. I drilled a small hole straight down where the two faces meet. The hole was just smaller than the inner cable diameter. I then drilled a larger hole roughly the diameter of the recess in the cable nipples and about 5 mm deep.
The top half of the form is made from a Dremel tool grinding disc bit. The screw hole is enlarged to the diameter of the inner cable and the end of the bit is countersunk with a slightly larger drill bit. The combination of these two parts forms a near perfect bird-nest shape.
The inner cable is clamped into the vice from below, protruding just a few millimeters above the top surface. The top form (Dremel bit) is placed on top of the cable and struck with a hammer. If the cable is well-clamped in the vise, it expands in the gap between the two forms to make the “bird-nest”. After a few practice runs with some old cable, I was able to get a pretty consistent bird-nest on the cable. This already provides a very strong-seeming connection for the cable end, and when combined with the solder I expect will outlast the other parts of the cable.
In order to avoid overheating the cable, I wanted to dip solder the end instead of using the torch on the barrel. I used an old 1-gauge battery terminal as a makeshift solder pot. I clamped it in a vise and heated it with a torch until it was hot enough to melt the solder. I then added enough to fill it. I dipped the cable end in liquid flux and then dipped it into the melted solder for a few seconds. This resulted in a very secure connection. The Venhill cable kit also came with an inline barrel adjuster which makes getting the cable the right length much easier. Overall, I’m very happy with the kit, and I will likely use them again (especially now that I have my own bird-nesting tool). Now that I’ve set up my tooling and process for this, future cables will take much less time to construct.